| Making Shoes | |
| Page 3 | |
| |
| |
 |
| |
| |
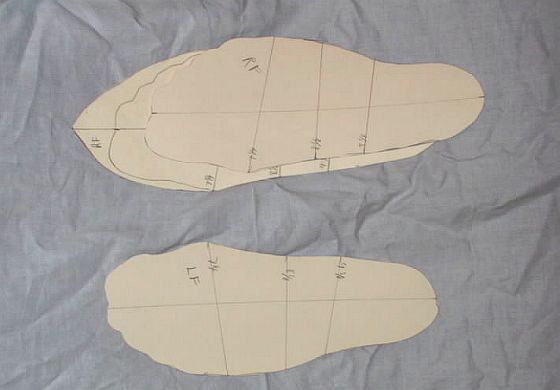
You can now take your foot off the template. Draw a line from the center of the heel up through the center of your foot. This is usually very near the second toe. Continue this line a few inches up past the toes. Connect the marks you made on the side of your feet at the ball and the beginning and end of your arch. Continue these lines a few inches past the lines for the sides of your feet. It should like a little like this:
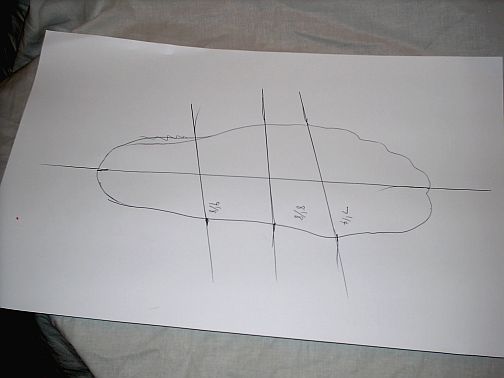
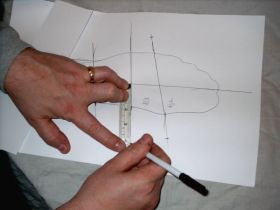
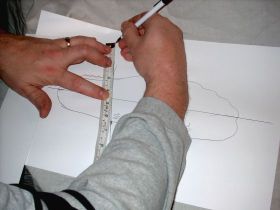
Now, take the measurement from the ball of your foot, and cut in in half. For mine the measurement was 7-1/4, so the number is 3-5/8 (7-1/4 X 1/2 = 3-5/8). Measure from the center line out both directions along the ball line and mark it at 3-5/8. Do the same for the 2 arch lines, using their own measurements.
|
 |  |
|
|
|
|
|
|
|
|
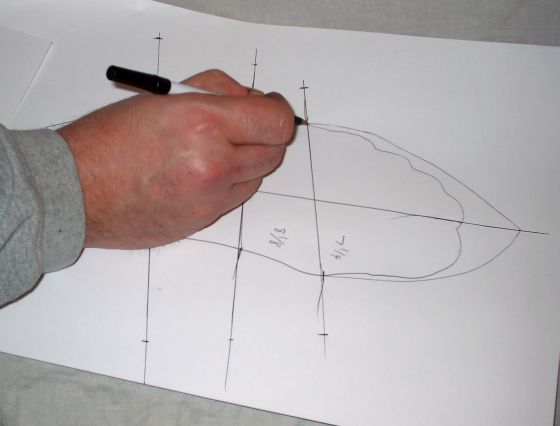
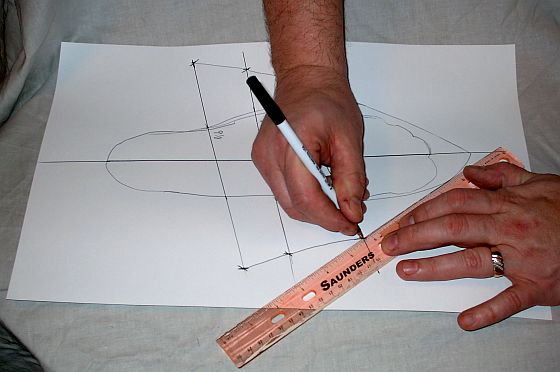
Now, using a pencil, draw a curved line that goes from the line at the ball of your little toes up to make a point that ends on your center line an inch and a half or so past your longest toes. Draw another curved line from the inside ball of your foot up to meet this point. This will be to sole of your shoe. Feel free to redraw it until it is a shape and point that you like, but try to keep the line relatively close to your toes until you get past them. If the lines are too close, your toes will be crowded. If the lines are too far away from your toes, you will feel like your feet are flopping around inside a pair of clown shoes. You will probably want to keep these lines within 1/4 of an inch from the sides of your toes, then take the lines where you like to make the shoe "visually pleasing". You should end up with a template that looks kind of like the image below:
 |
| |
If your pattern doesn't look exactly like the pictures above, don't worry! If your feet were made exactly like mine, your pattern might look just like this. These images are just to give you an idea of what to expect. At this point in time, you will want to cut out this sole pattern. Set thie piece aside, as you will need it for tracing out your sole pattern.
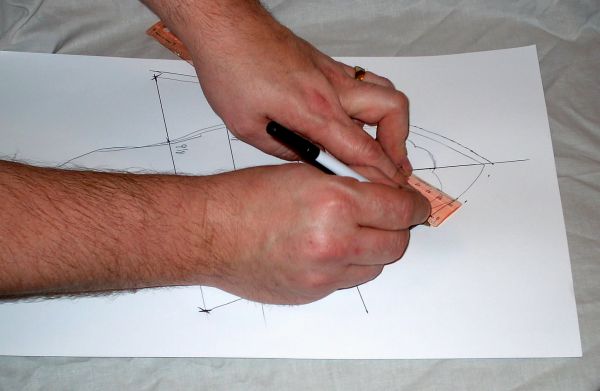
After you have cut it out, re-trace it onto another piece of cardstock and redraw the center, ball, and arch lines, with their measurements. You will now "connect the dots", starting from the back. Connect the rear archline measurement to the front archline measurment using a straight line, then connect the front archline measurement to the ball measurement. Now it gets just a little tricky. Use a ruler to connect the mark from the ball line measurement to the closest spot on the curve you drew to help make the point of the shoe. See the image below:
|
 |
| |
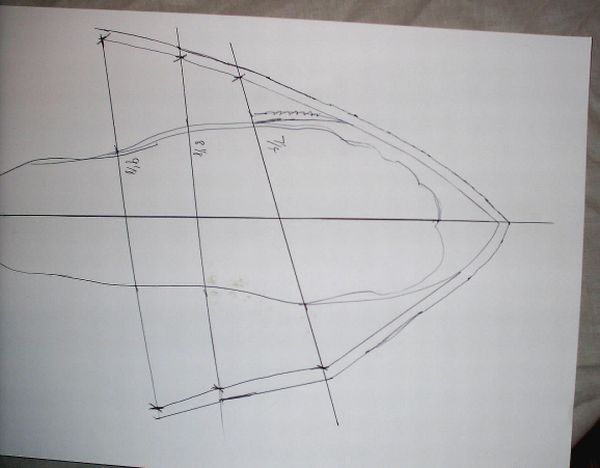
| Finally, you will need to add 1/4 inch all the way around your outside line. This will serve as your seam allowance or overage when you stitch the upper or vamp to the sole. |
| |
|
When your Vamp pattern is all drawn, it should look something like this:
|
| |
|
| Next...page 4. Finishing up the pattern. |
| |
| | |
|
|
|
|
|
|
|
|
| | |
| Please be sure to see the Pictures section for some samples of my work. |