| Making Gillies
|

|

|
|
|
|
|
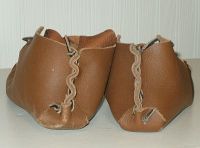
Good looking Gillies shoes. No (real) sewing skills required.
|
|
|
|
|
|
|
|
|
|
This page will build on what was covered at Gillies Shoes. You will use pretty much the same construction techniques, but modify the pattern slightly.
|
| |
|

|
|
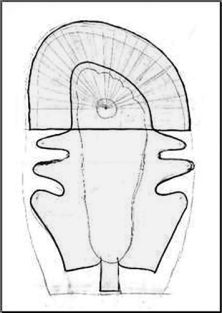
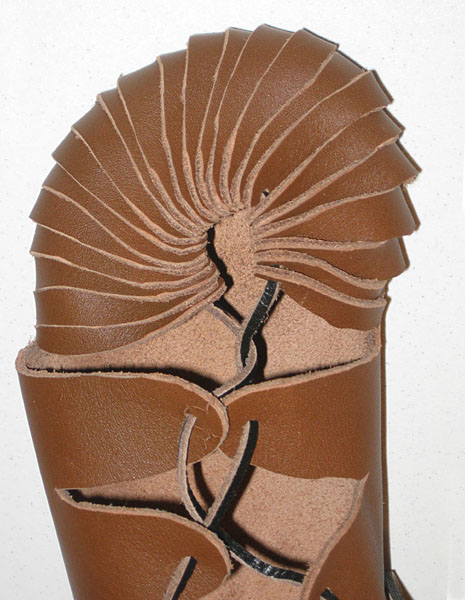
Start with the appropriate sized pattern from the previous page, but use the pattern from the left from just behind the balls of the toes forward. Instead of 5 toe tabs, you will end up with about 20 or so.
Find the dead center of the ball of your foot, mark it with a dot on your paper pattern. Match up your heal on your pattern and draw a line around your toes, then draw another smooth curved line about 1/2 inch outside of the toe line. This will be the line you cut to when you cut the tabs. Erase the original toe line, you won't need it anymore. From this new line, draw a bigger curved line about 2 to 2-1/4 inches out. This will be your outside cut line.
|
Cut out the paper patern and trace it onto the suede side of your leather. Find and transfer the dot marking the center of the ball of your foot. Using this dot as your center, draw straight lines from the outer cut line to your inner cut line you transfered onto the leather. Try to keep them fairly evenly spaced measuring around the outside. Also, try to keep them more than 1/2 inch wide. Smaller tabs can lead to too much bunching up when the shoe is worn.
|
Cut out your shoe from the leather. Cut your toe tabs along those lines from the outside to the inner cut line. You may choose to round off or taper the tab ends so they don't look quite so boxy or bunched up. The rest of the construction is exactly the same as on the Gillies page. You should end up with a shoe that looks something like this.
|
 |
| |
|
| Please be sure to see the Pictures section for some samples of my work.
|


